
Every pyrography artist wants to get better, but most skip practice and jump straight into another big project, hoping this will magically develop their skills. Spoiler: it doesn’t.
Practice is where mastery happens.
Small drills build control.
Repetition builds confidence.
Warm-ups prevent mistakes.
And foundational exercises make your creativity feel more free, not more restricted.
If you want cleaner lines, smoother shading, better textures, and pieces that look more professional, you don’t need more “talent.” You need practice that works.
Let’s break down the most effective drills for improving your pyrography technique.
Why Practice Matters (Even for Experienced Artists)
Here’s the truth nobody loves admitting: every skill in pyrography is a physical skill.
- Your hands must learn control.
- Your strokes must become consistent.
- Your muscle memory must improve.
- Your speed must stabilize.
Even seasoned artists warm up before performing. Pyrography is no different.
Practice drills:
- build steadier hands
- refine your technique
- prevent overburning
- improve shading transitions
- boost your creative confidence
And the beauty? You don’t need a full project to improve.
Ten minutes of drills can change your entire burn session.
The Four Skills Every Pyrographer Must Practice
Skill 1: Control
Control affects every line, curve, dot, and shadow you create.
Skill 2: Consistency
This is the difference between professional pieces and amateur ones.
Skill 3: Pressure & Heat Awareness
You must know how your burner responds under your hand.
Skill 4: Flow
Smooth, relaxed movement = elegant artwork.
These drills strengthen all four.
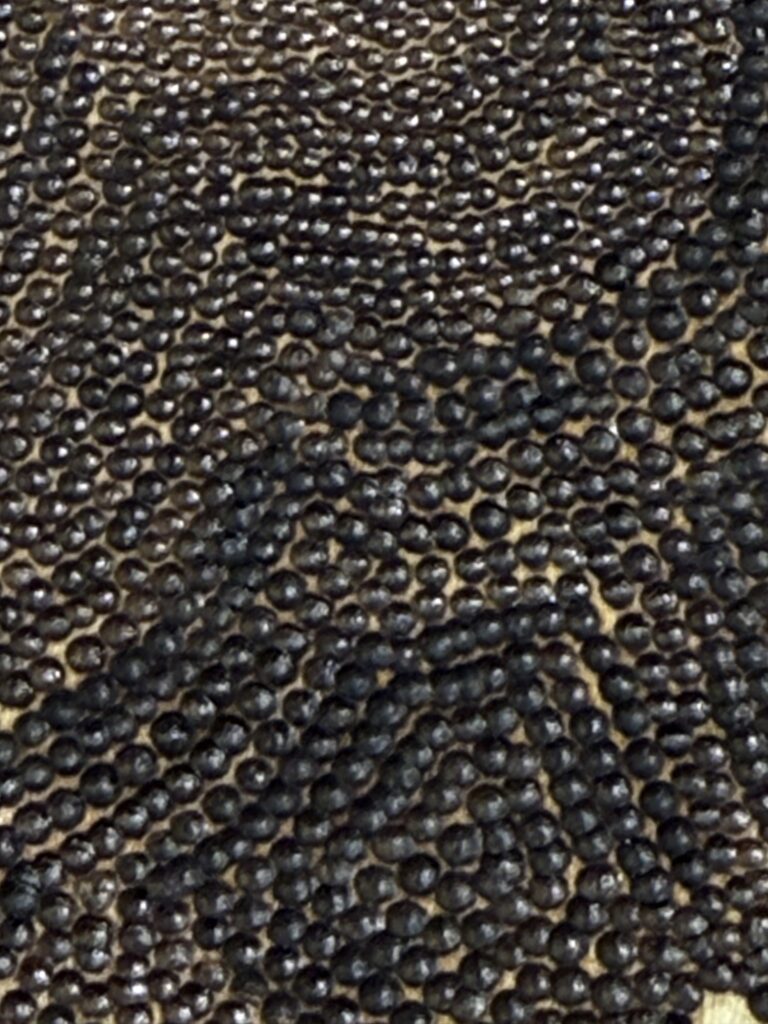
Drill #1: Dot Gradient Strip (Pointillism Warm-Up)
This drill builds your understanding of tonal value.
How to do it:
Burn dots densely on one side of a strip and slowly spread them out as you move across.
Your goal is a smooth transition — no clumps, no harsh edges.
What it teaches:
- spacing
- rhythm
- gradient control
- soft transitions
This drill alone will improve your shading dramatically.
Drill #2: Value Squares
Burn three separate squares:
- Light
- Medium
- Dark
Make each square perfectly even.
Why it works:
Your brain learns the difference between values.
Your hand learns pressure control.
Your eye learns to judge consistency.
This exercise builds shading discipline faster than anything else.
Drill #3: Line Control Board
Fill a scrap board with:
- straight lines
- curved lines
- tapered lines
- spirals
- S-curves
- wavy lines
Don’t lift the pen unless necessary.
This is your line workout.
Why it matters:
Line work is the skeleton of your art.
Sharper skeleton = stronger finished piece.
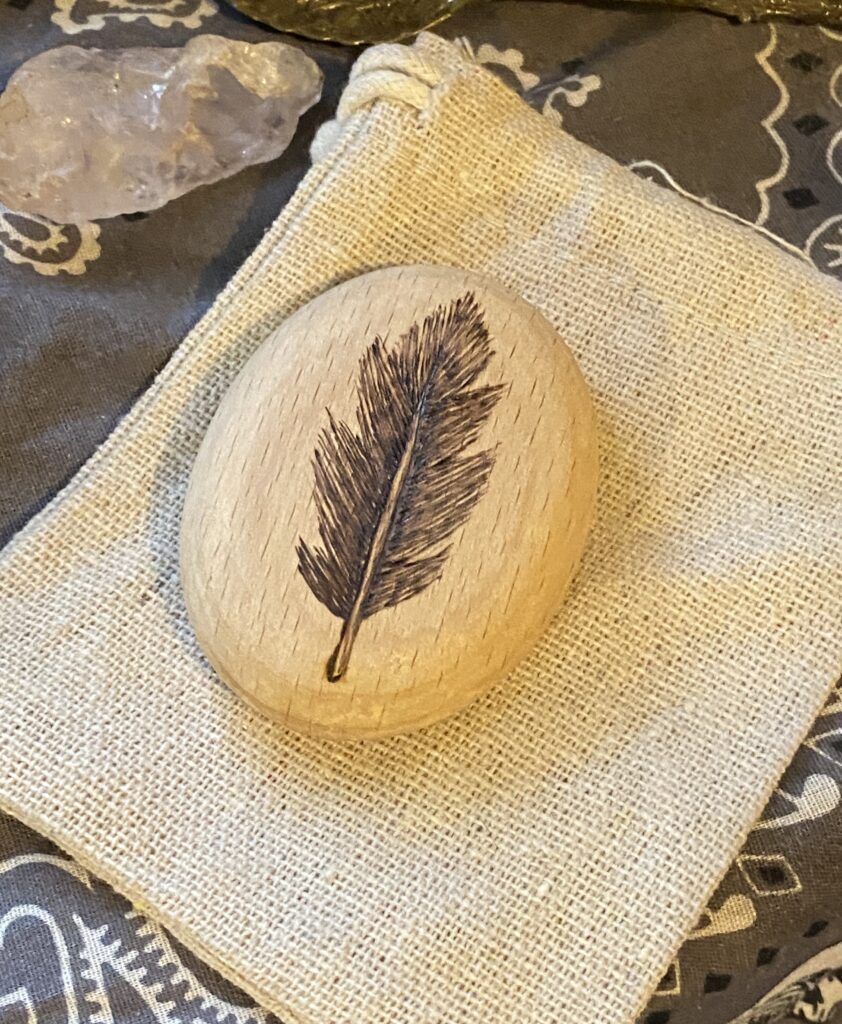
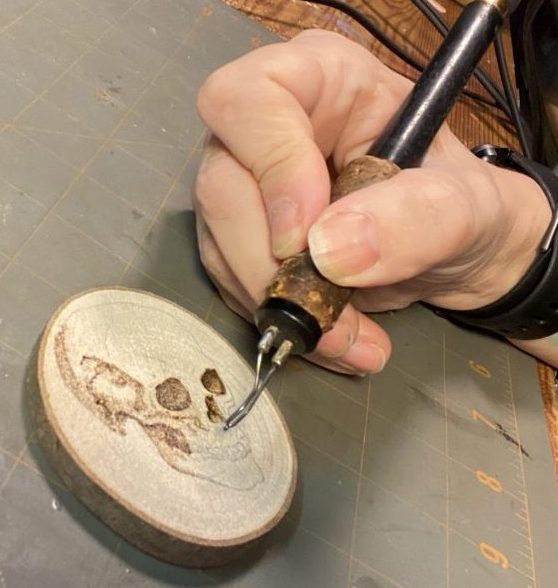
Drill #4: Mini Object Studies
Big projects are overwhelming.
Mini studies are manageable.
Pick tiny objects like:
- leaves
- feathers
- petals
- pinecones
- stones
- acorns
Burn each one focusing on a single technique:
- shading only
- pointillism only
- lines only
- texture only
This isolates skills and speeds up learning.
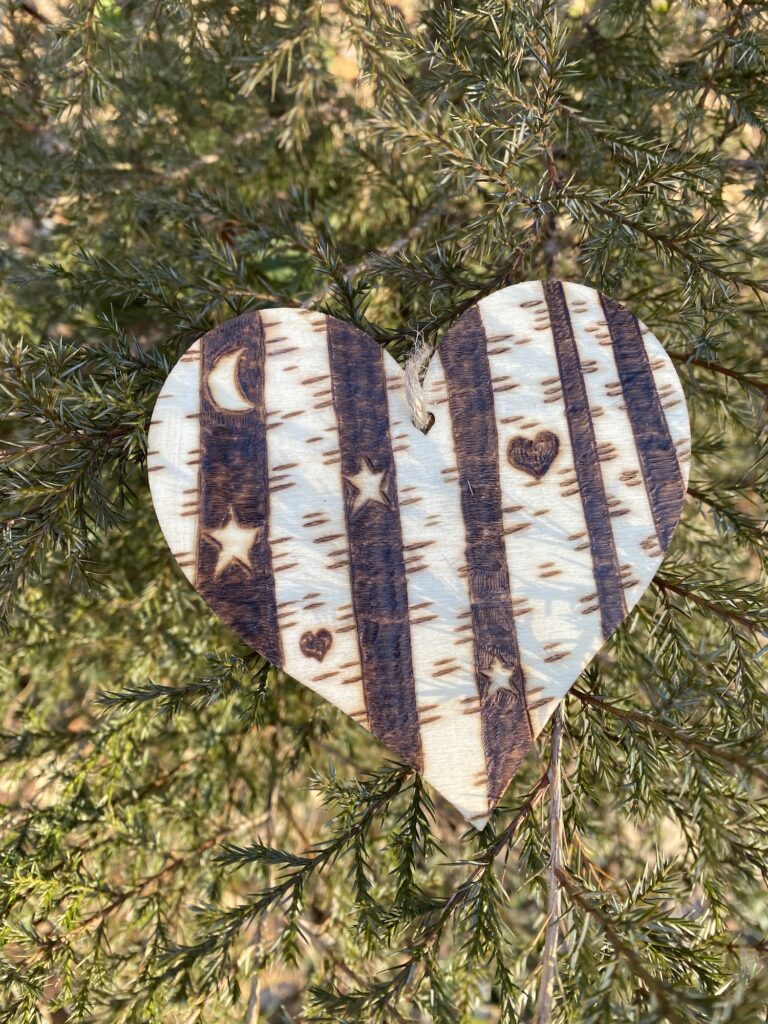
Drill #5: Texture Tiles
Divide a scrap board into small squares and fill each with a texture:
- bark
- fur
- pebble
- flowing water
- scales
- fabric weave
- wood grain
Texture mastery is the secret weapon of advanced pyrographers.
Why People Avoid Practice (And Why They Shouldn’t)
Most artists skip practice because:
- it feels slow
- it isn’t “pretty”
- it isn’t Instagram-worthy
- it doesn’t feel productive
But here’s the truth:
Your projects are only as strong as the skills you bring to them.
Practice makes those skills stronger.
How to Build a Practice Habit (That Doesn’t Suck)
1. Start with a 5-minute warm-up
Just like stretching before a workout.
2. Choose one drill per session
Don’t overwhelm yourself.
3. Track your improvements
Take photos! Seeing progress motivates you.
4. Use practice boards
Scrap wood is your best friend.
5. Make it fun
Put on music. Burn outside. Turn it into ritual.
Practice doesn’t have to feel like punishment, unless you’re doing tiny dots on low sleep, then… bless your soul.

