
What is Pyrography?
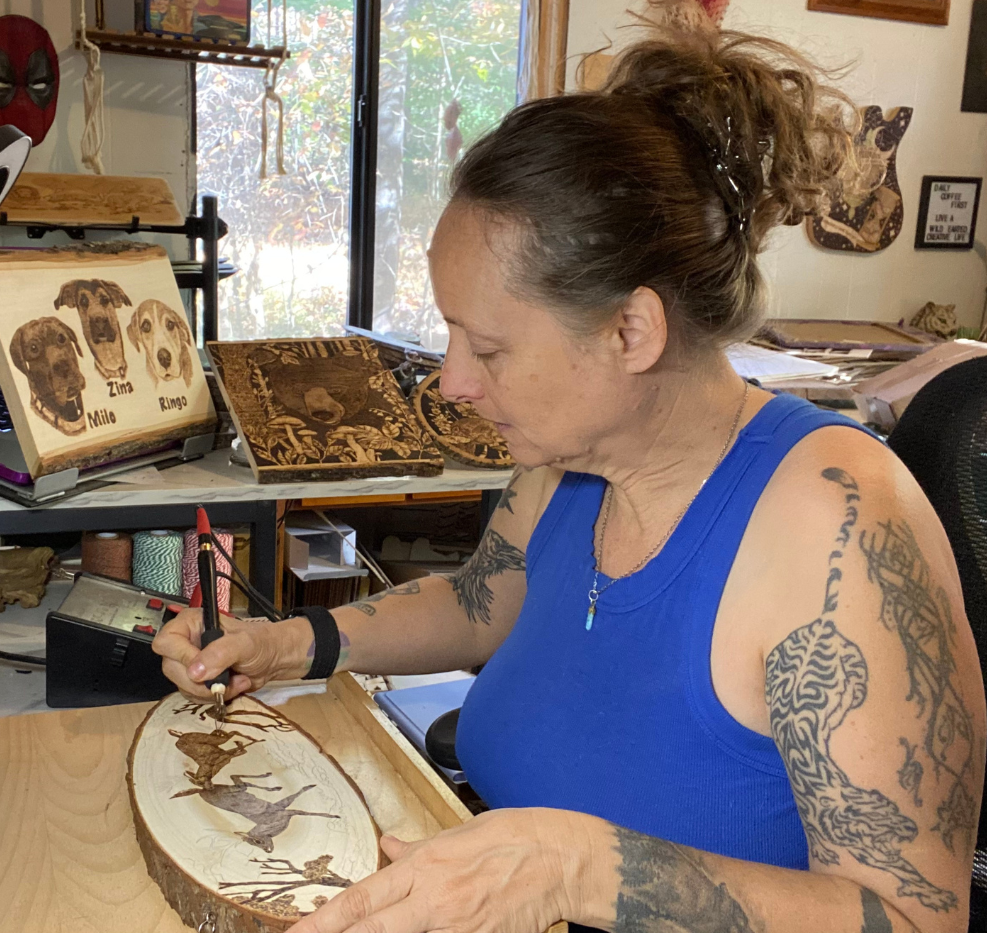
Pyrography, often called wood burning art, is the craft of creating designs on wood using controlled heat. The term comes from the Greek words pur (fire) and graphos (writing), which literally means “writing with fire.” Artists have practiced pyrography for centuries, from ancient civilizations decorating wooden tools to Victorian-era artisans crafting intricate wall panels. Today, it’s a popular hobby for both beginners and professionals because it combines creativity, craftsmanship, and a tactile connection to natural materials.
For new artists, pyrography offers an accessible entry point into the world of handmade art. With just a pyrography pen, some safety gear, and the right type of wood, you can start creating everything from simple lettering to detailed landscapes. Whether you’re making personalized gifts, home décor, or simply exploring a relaxing new hobby, pyrography allows you to literally burn your ideas into reality.
Essential Tools for Pyrography
Before diving into your first beginner pyrography project, it’s important to have the right tools. A good setup not only improves your results but also makes wood burning safer and more enjoyable.
1. Pyrography Pen
- Solid-point pens (craft-style burners) heat up with a fixed tip. They’re affordable and perfect for simple outlines and lettering.
- Wire-nib pens heat faster, allow temperature control, and offer interchangeable tips for shading, fine lines, and textures.
2. Safety Gear
Work in a well-ventilated area. Use:
- A dust mask or respirator
- Heat-resistant gloves
- A fan or air purifier
3. Beginner-Friendly Kits
Many craft stores sell complete wood burning kits for beginners. These usually include a pen, several tips, a stand, and sometimes practice wood.
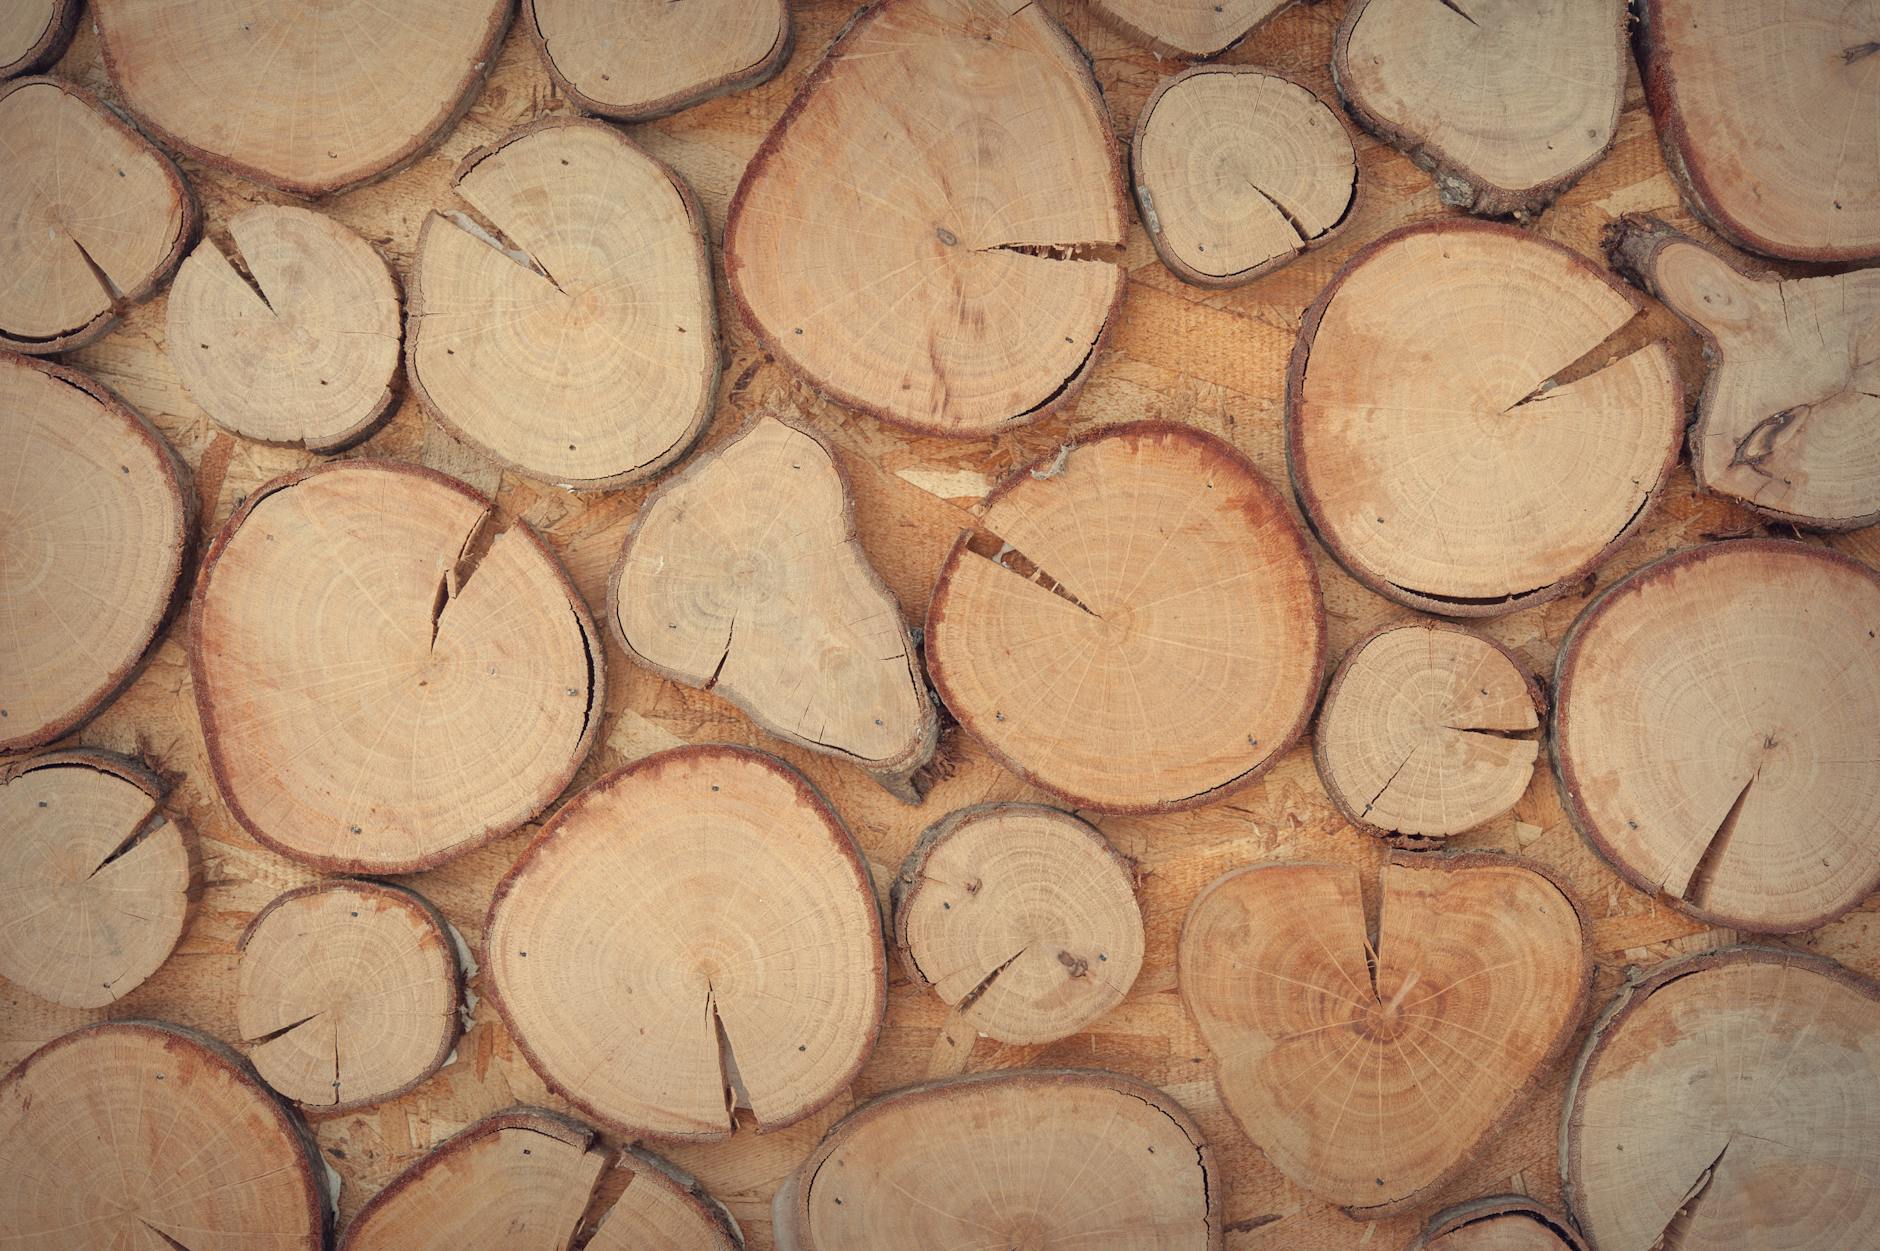
Choosing the Right Wood
One of the most important beginner pyrography tips is choosing the right wood for your project.
Best Woods for Beginners
- Basswood – Smooth, pale, and soft, perfect for clean lines and shading.
- Birch – Light-colored and fine-grained, great for detail.
- Maple – A bit harder but produces sharp, defined designs.
Preparing the Surface
Sand with fine-grit sandpaper (220 grit) and wipe clean before burning.
Woods to Avoid
- Resinous woods like pine or cedar (sticky buildup and more smoke)
- Treated or painted woods (release harmful chemicals)
Basic Pyrography Techniques
Before tackling a full project, practice these wood burning techniques on scrap wood:
- Temperature Control – Start with medium heat and adjust as needed.
- Outlining – Steady, even pressure for clean lines.
- Shading – Light, sweeping motions for soft gradients.
- Texturing – Use different tips for patterns and effects.
- Transferring Designs – Use transfer paper for accurate outlines.
Safety Tips for Wood Burning
Follow these pyrography safety tips to protect yourself:
- Work in a well-ventilated area.
- Wear protective gear — mask, gloves, long sleeves.
- Use a heatproof stand for your pen.
- Keep fire safety tools nearby.
- Take regular breaks to prevent strain.
Common Beginner Mistakes and How to Avoid Them
- Burning Too Hot or Too Deep – Start at medium heat.
- Rushing – Move at a steady, consistent pace.
- Skipping Scrap Practice – Always test before the final piece.
- Neglecting Surface Prep – Sand and clean before burning.
- Forgetting Safety – Ventilation and protection are essential.
Inspiration and Next Steps
Start small with projects like coasters, bookmarks, or plaques. As your confidence grows, try portraits, landscapes, or mixed-media pieces combining pyrography with painting or resin.
Keep practicing, join online pyrography art communities, and share your work for feedback. Every project builds skill — and even mistakes can spark new creative ideas.
With patience, practice, and the right tools, you’ll soon be creating wood-burned art that truly reflects your personal style.

