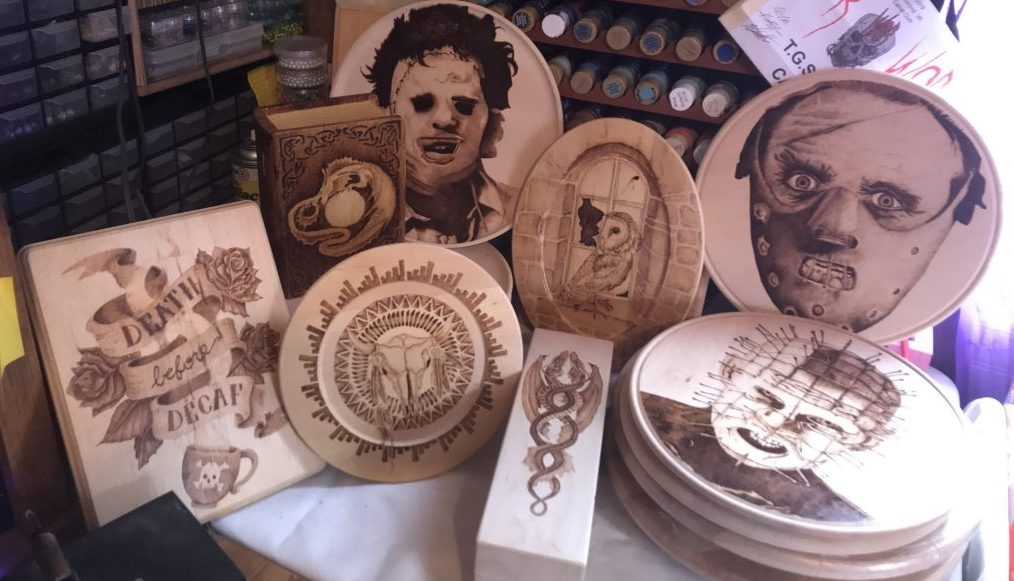
If you’ve ever admired the warm, intricate designs of wood-burning art and thought, I want to try that! Well, you’re in the right place. Pyrography, the art of decorating wood (and sometimes leather) with controlled heat, is both rewarding and deeply relaxing.
For beginners, the key is starting with the right habits, tools, and techniques. Here are 10 must-have tips to set you on the path to creating beautiful, lasting work.
1. Start with the Right Wood
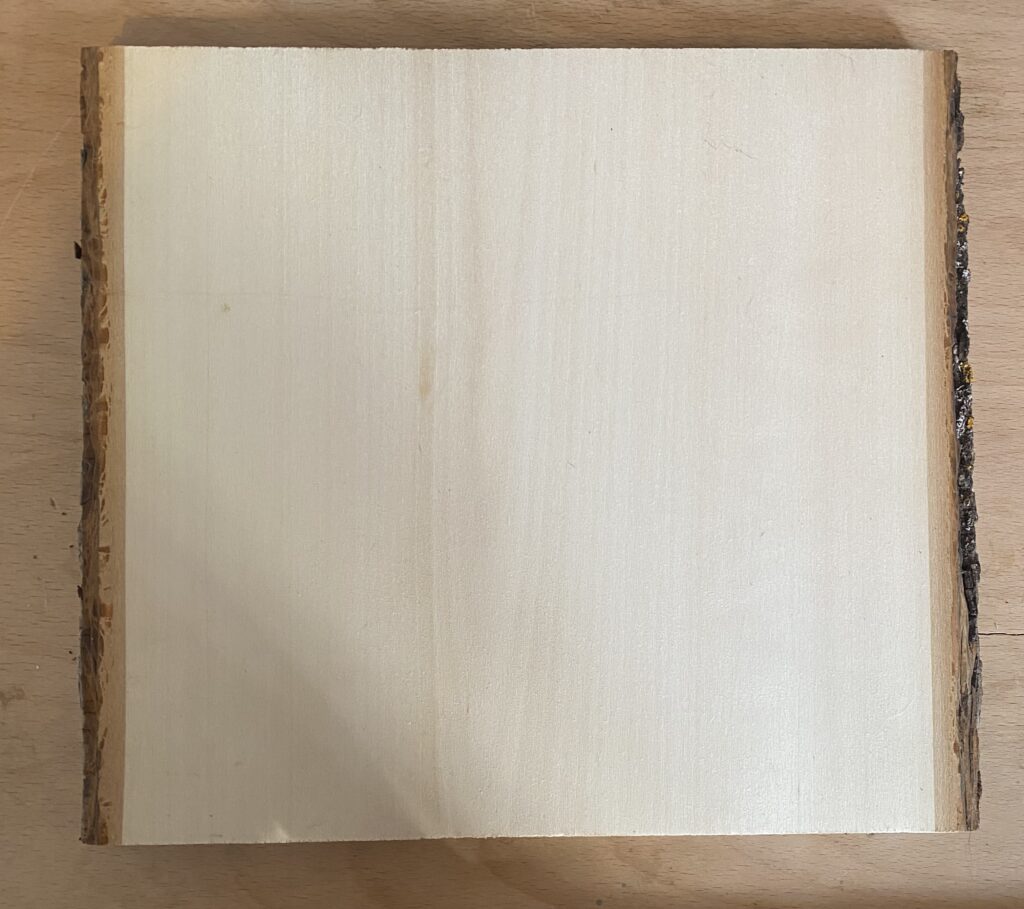
Not all wood is beginner-friendly.
- Best choices: Basswood, birch, maple — all have fine, even grains that burn smoothly.
- Avoid: Resinous woods like pine, or chemically treated lumber, which can produce harmful fumes.
The cleaner the grain, the cleaner your lines.
2. Prioritize Safety First
Burning wood produces heat and smoke.
- Work in a well-ventilated area or use a small fan.
- Wear a dust mask or respirator when sanding or burning.
- Keep a fire extinguisher nearby (just in case).
No masterpiece is worth a safety shortcut.
3. Invest in a Quality Burner
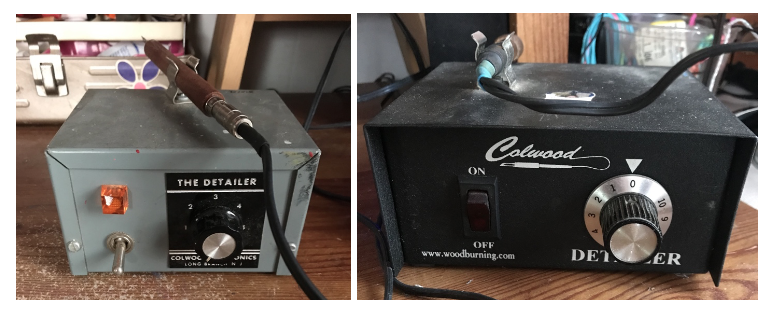
Your burner is your paintbrush — choose wisely.
- Solid-point burners: Affordable, good for basic projects.
- Wire-nib burners: More control, faster heat-up, and adjustable temperature.
If your budget allows, go for adjustable heat; it opens the door to more techniques.
4. Learn to Control Temperature
Heat affects everything: line darkness, depth, and shading.
- Lower heat = lighter, more delicate lines.
- Higher heat = deeper, darker burns — but also more risk of charring.
Practice moving your hand steadily so heat works with you, not against you.
5. Practice on Scrap Pieces
Your best friend as a beginner? A pile of scrap wood.
- Test temperatures before starting your main project.
- Experiment with strokes, dots, and shading.
This is your no-pressure playground.
6. Master the Basics of Shading
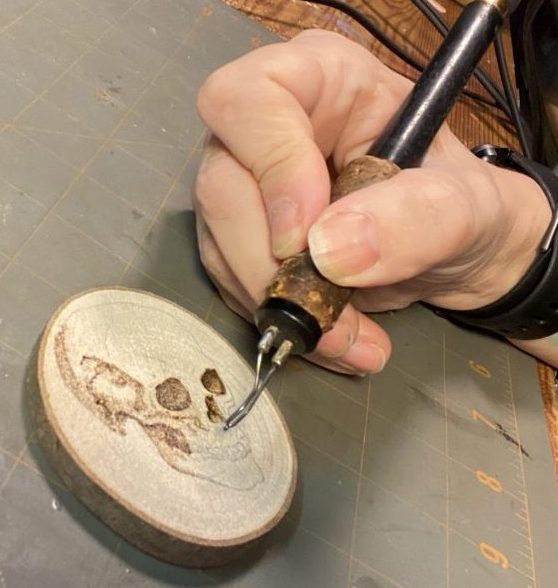
Shading adds life to your pyrography art.
- Use gentle pressure and lighter heat for soft shadows.
- Try layering strokes for gradual tonal changes.
Think of it like drawing with a pencil — but your pencil is 700°F.
7. Trace Before You Burn
Freehanding is fun, but planning saves frustration.
- Use graphite paper to transfer a design.
- Or lightly sketch with a pencil (keep lines faint).
A guide keeps your proportions and spacing in check.
8. Keep Your Tips Clean
Residue builds up fast — and ruins clean lines.
- Use a brass brush or fine sandpaper to wipe tips.
- Clean while burning, not just after you’re done.
A clean tip means consistent burns.
9. Experiment with Textures
Textures make your art pop.
- Try stippling (dots), hatching (lines), and cross-hatching.
- Vary stroke length and direction for depth.
It’s amazing what a few simple patterns can do.
10. Finish and Protect Your Artwork
A good finish keeps your art looking fresh.
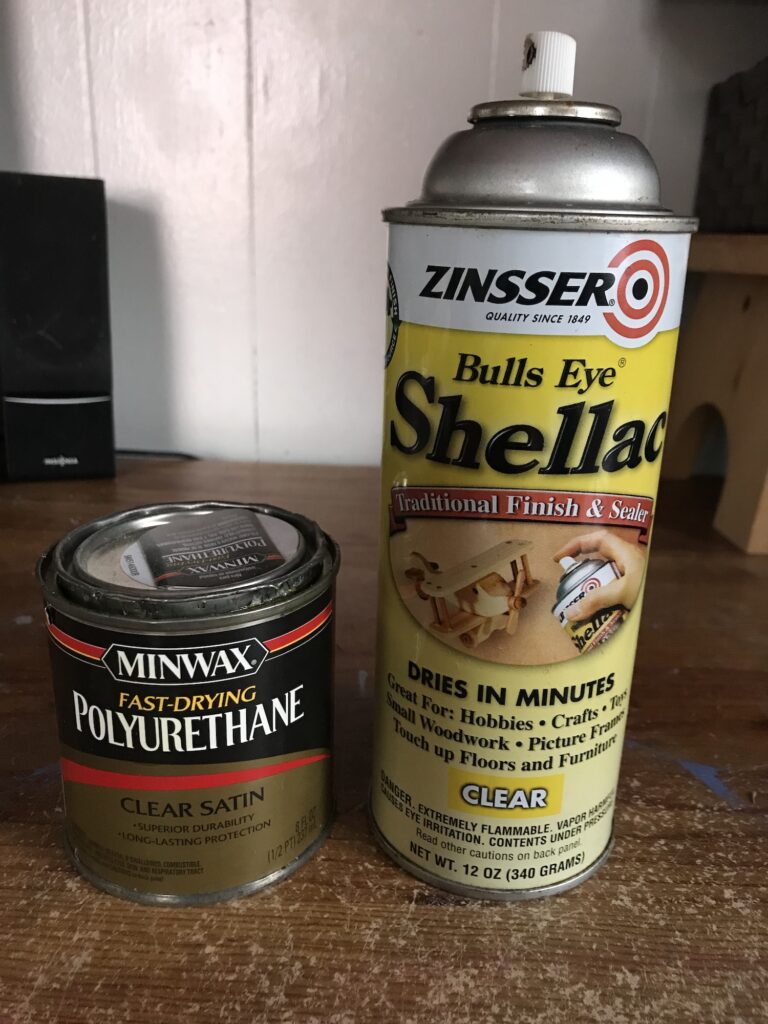
- Use a clear, non-yellowing sealant.
- Avoid heavy varnishes that might obscure detail.
Display proudly! You made this!
Pyrography is a craft where every project teaches you something new. Start with safe, smart practices, embrace the learning curve, and enjoy watching your skill grow.
Now grab your burner, a fresh piece of wood, and start making your mark, literally.
