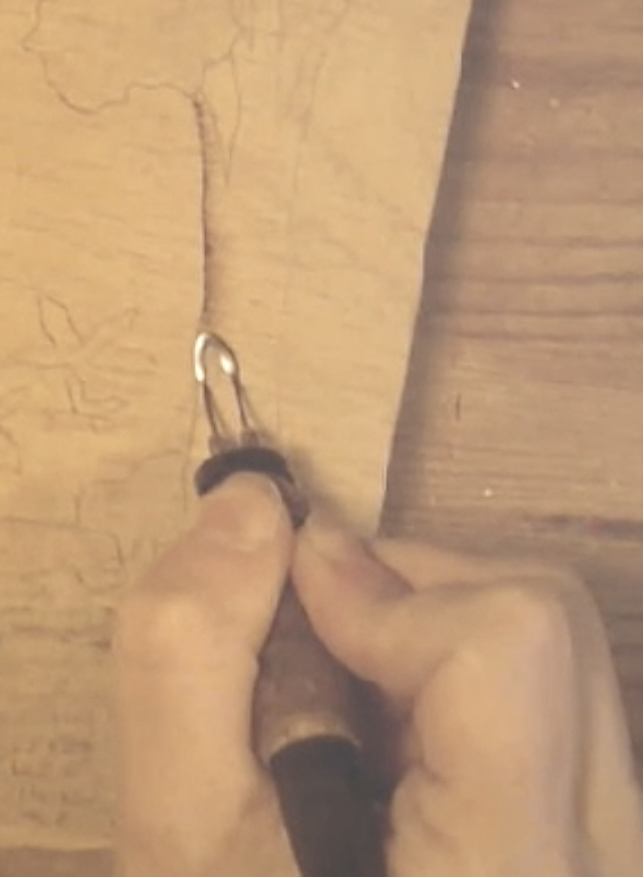
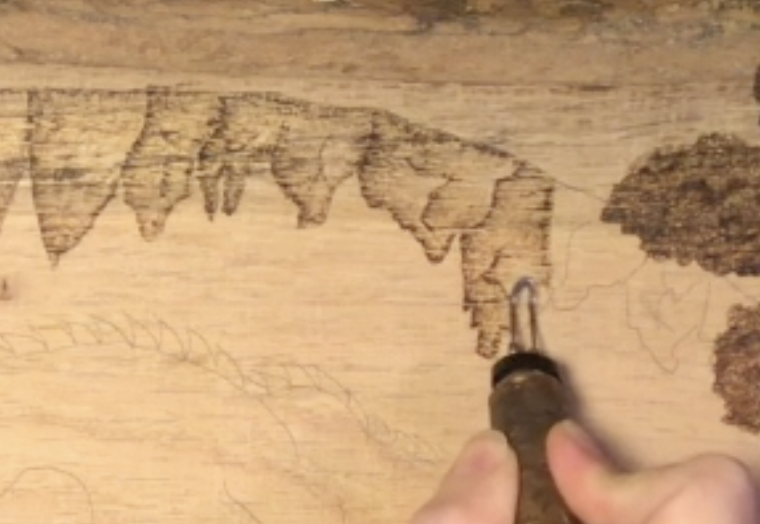
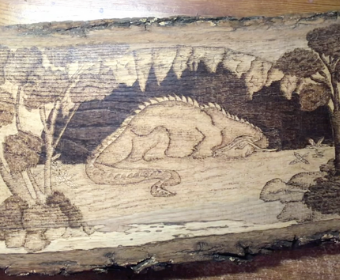
The Sleeping Dragon pattern is a beautiful project for beginner to intermediate wood-burning artists. With its mix of organic elements, trees, cave textures, crystals, and of course, the dragon itself, it offers a chance to practice shading, depth, and detail work in a relaxed, meditative way.
This tutorial walks you through preparing your wood, transferring your pattern safely, and burning each section with control and creativity.
Step 1: Prepare Your Workspace and Materials
Before you begin, set yourself up for success:
- Work in a well-lit, ventilated space free of food and drink.
- Have a practice board nearby to test shading and temperature.
- Use graphite paper for pattern transfer—avoid carbon paper and ink heat transfers due to potential toxins.
Tip: Always check that your graphite paper is facing the correct way to avoid accidentally tracing onto the back of your pattern.
Step 2: Choose and Prepare Your Wood
For this project, hickory with bark was used, but basswood or other light, untreated woods also work beautifully.
- Sand the surface, start with coarse grit and move to fine until smooth.
- Wipe away all dust before burning.
- Adjust your pattern size using a printer to match your wood dimensions.
Step 3: Transfer the Sleeping Dragon Pattern
- Place graphite paper (dark side down) between your wood and printed pattern.
- Tape the pattern securely so it won’t shift.
- Use a stylus or red pen to trace the lines; red ink helps track which areas you’ve already done.
- Double-check all lines have transferred before removing the paper.

Step 4: Start Burning – Work from the Outside In
This design can be approached in different orders, but working from the outer elements toward the dragon helps build depth.
Trees and Bushes:
- Start with a medium heat using a shader tip for trunk edges, lighter strokes toward the inside.
- For foliage and shrubs, switch to a writing tip, using small circular motions for natural texture.
- Add shadows by darkening areas near trunks and branches.
Stalagmites and Rocks:
- Shade from edges inward for depth.
- Keep shadows darker where formations overlap.
- Add subtle cracks or texture with a pointed tip.
Crystals:
- Use a skew tip for sharp, clean lines.
- Decide later whether to shade or leave them bright for contrast.

Step 5: Burning the Sleeping Dragon
- With a shader tip, work from the dragon’s outline inward, keeping edges darker.
- Define muscle lines and tail curves with controlled shading, not heavy outlines.
- For the head, lower your heat to avoid overburning small details.
- Spikes can be outlined lightly until you decide how to integrate them with the background.
Step 6: The Background and Cave Walls
- Fill the cave background at a slightly higher heat for a rich, dark tone.
- Above and behind trees, keep shading lighter so the foreground stands out.
- On the cave floor, vary your shading to suggest dirt and uneven terrain.
Step 7: Final Touches and Finishing
- Step back for a day or two to see if more shading is needed.
- Sand and erase any marks or dings.
- Apply 2–3 coats of polyurethane or shellac for protection, using a sponge brush for even coverage.
Tips for Success
- Patience is your greatest tool. Slow, controlled burns create smoother shading and fewer mistakes.
- Clean your tip regularly with aluminum oxide powder and a strop to prevent dragging or muddy shading.
- Avoid over-outlining; let shading define shapes for a more natural look.
The Sleeping Dragon pattern is as much about the process as it is the finished artwork. Take your time, enjoy the layering of tones, and allow your unique style to emerge in each element. Whether you stick closely to the pattern or adapt it, the result will be uniquely yours. You can get the Sleeping Dragon Pattern inside the Solo Studio.


